
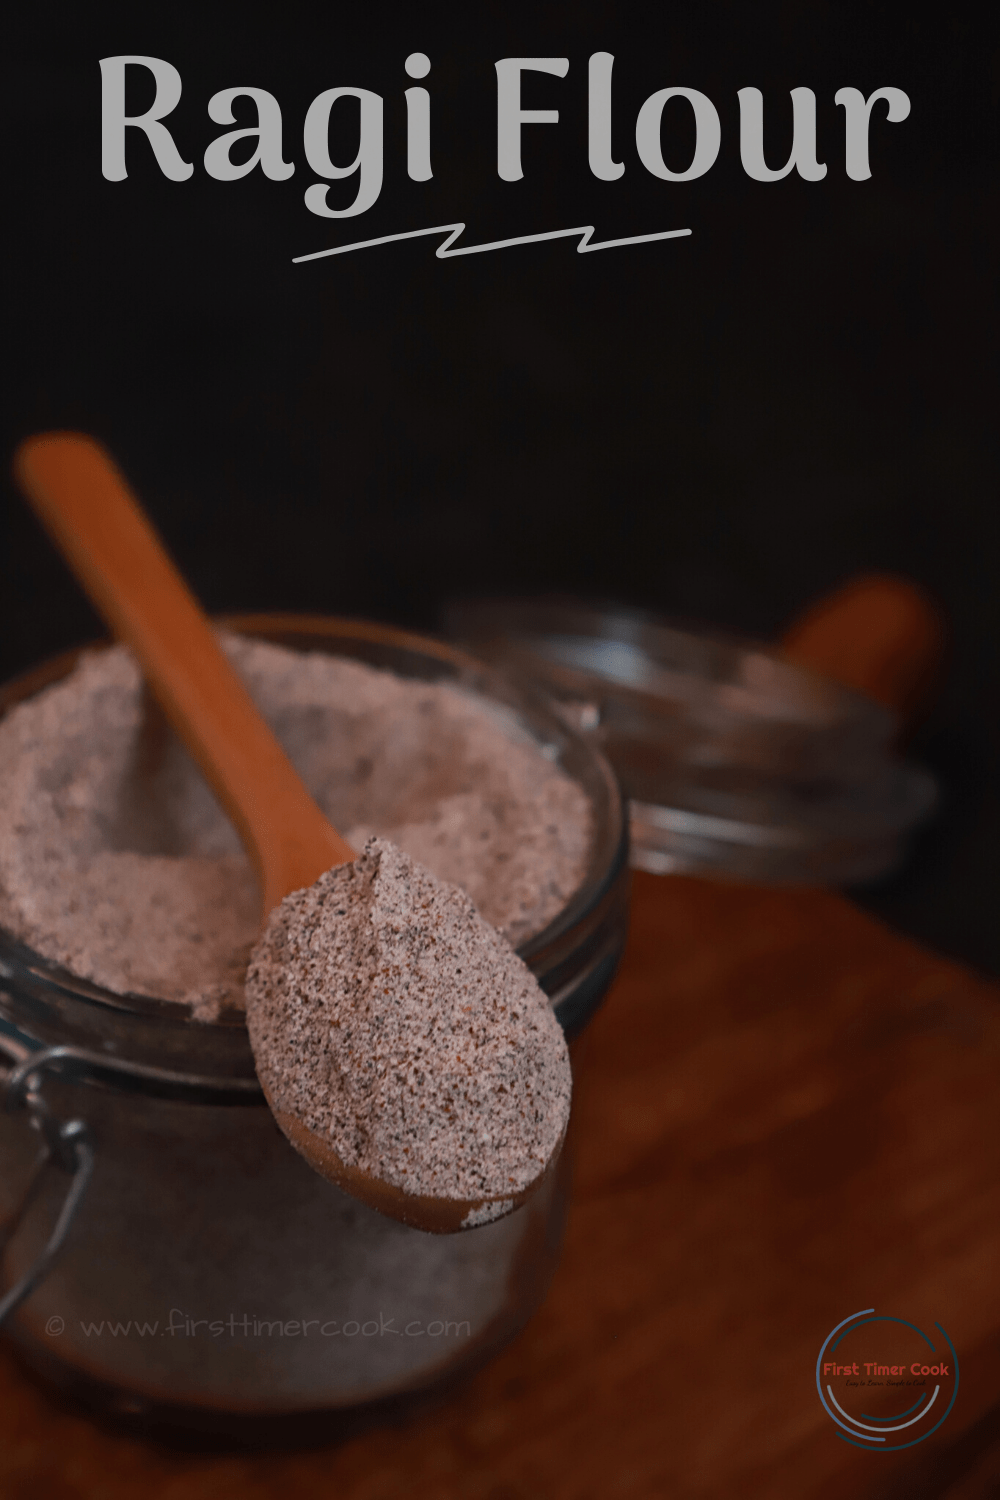
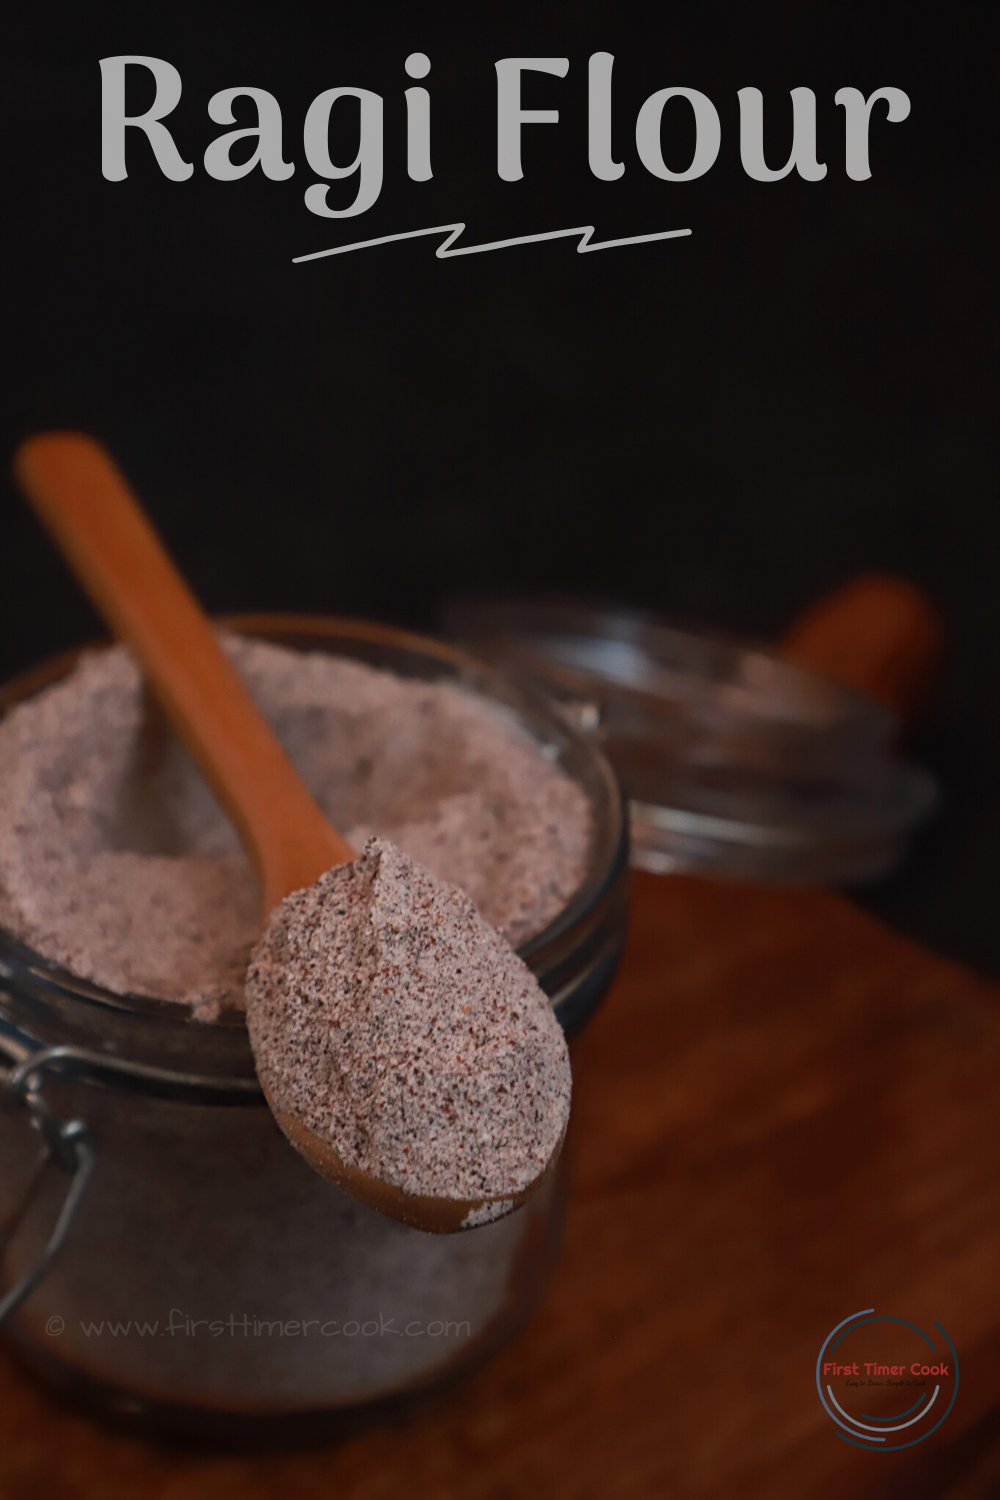
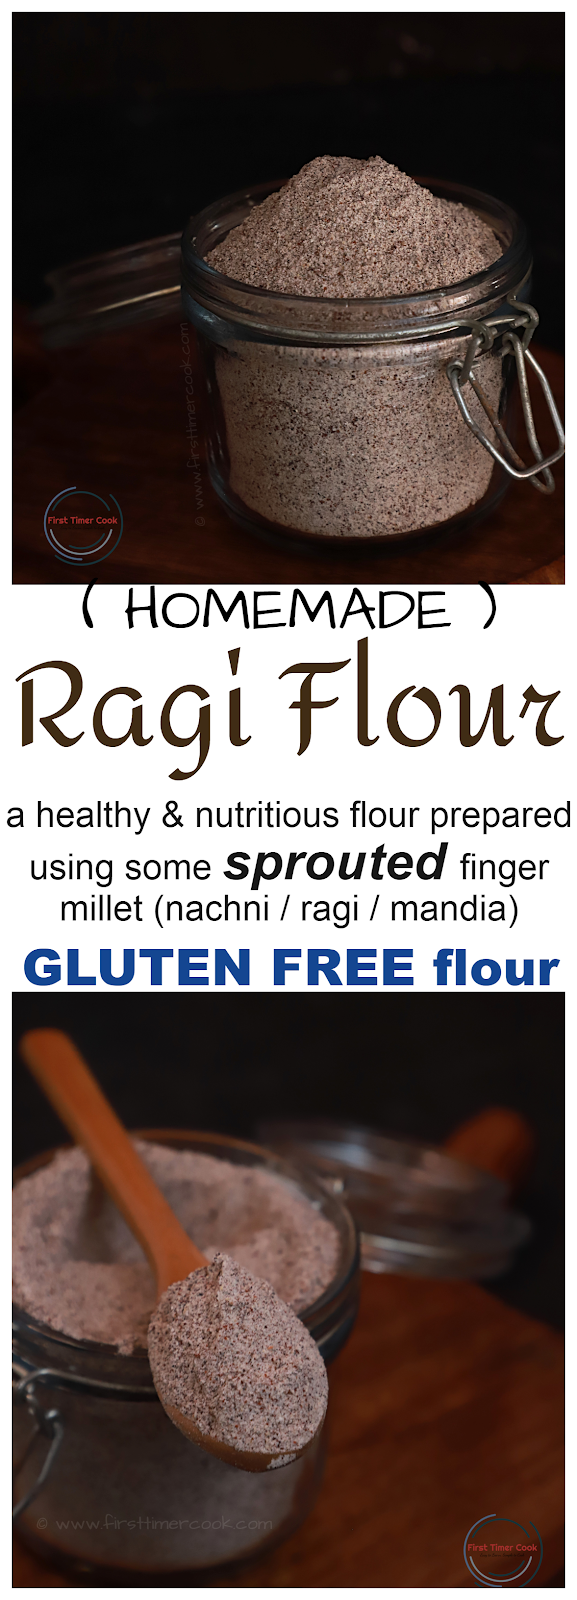
a healthy flour prepared at home using sprouted finger millet (ragi / nachni)
What is Ragi (finger millet) ?
Ragi is a wonder ancient grain and known as finger millet or red millet. It has some other names as well in various part of India like Mandia (in odia), mandua (in hindi), nachni (in marathi) etc. It is in fact the staple diet in many villages across South India particularly. This small reddish colored round grain has a most important feature and that it is gluten free and a great source of calcium, so it is a good choice for people who are gluten and lactose intolerant. With its low glycemic index, it does not cause sharp spike in blood sugar levels and that is why a good choice for diabetics as well. Like these and some more health benefits (few listed below) this millet grain is becoming a Super Food in current days and people are preferring this in place of wheat.
Health benefits of this millet :
- Rich source of fiber, protein and low fat content
- Reduces appetite due to the presence of an amino acid (tryptophan)
- Gluten free
- Used often without polished, so it retains all its nutrients
- Stabilizes blood sugar levels
- Good source of iron, calcium
- Must to be included if focusing to lose weight
- Helps to lower anxiety and stress levels
- High anti-cancer potential and lots more.

Culinary uses of this finger millet :
Ragi, the super grain is being fast-forgotten to be included in most of our daily diet. Still, this humble millet has its wonderful role in the culinary world. One can use this in a lovely way in many innovative dishes which are perfect for breakfasts, snacks or even for main course spread. Starting from rotis (flat breads), idli, vada, pakora, pudding, dosa, papads, mudde, soup, porridge to baked dishes like cookies, cakes and lots more it can be used without any difference.
Some recipes using RAGI from this blog, you may check below :
Sugar free cookies using ragi,
But in most dishes ragi is used in powdered form. And today here I have come up with how to make ragi flour at home from the ragi grain 🙂
How to make ragi flour from the grain ?
There are two ways one can make powder from the ragi grain.
- Directly from the ragi grain (easy one)
- After sprouting the ragi grain (needs lots of time and patience)
First method is simple and quick as well. Directly wash and clean the grains and then dry roast and finally grind to get a fine powder.
Second method is much time taking as one has to wait to get well sprouted grains. Then the process is same as above one.
But this process is highly recommend if preparing for babies, toddlers.
Why the sprouting part is needed ?
- Vitamin C increases iron absorption. By sprouting the grain develops vitamin C, so that the iron in ragi becomes more bioavailable when consumed as sprouted ragi flour.
- Also the outer surface of the grain is little hard for digestion. So by sprouting, it becomes easier to digest as well as more nutritious.
As the homemade powder is always good and preservatives free, so one should make ragi powder at home and that too by sprouting.
Usually the ragi grains don’t sprout big like moong or any other lentils. Tiny sprouts are most common, still one can keep the grains to sprout bit long (around 1/2 – 1 inch).
Process to make ragi flour from the sprouted ragi :
In a bowl, first the ragi grains are washed and cleaned in enough regular water by rubbing with hands till all the muds and dust particles are removed and the water seems clear after rubbing. Then the ragi grain is soaked with water for overnight by slightly covering the bowl. Next day, simply the water is drained completely and the grains are transferred to a muslin cloth or cheese cloth, tied and kept in a bowl to sprout well (takes around 12-14 hours, even more depending upon the climate).
By that time, many tiny sprouts appears and one can also keep for long time to get sprouts like bit large (approximately 1/2 – 1 inch). Next all the sprouted ragi grains are spread in a large plate and allowed to dry either keeping under fan or in sunlight until completely dry. Finally these are dry roasted in a pan (for 4-5 minutes over low-medium heat) till nice aroma comes out and grains become crunchy. Next all are allowed to cool down completely. At last the grains are grounded in a grinder jar in batches and sieve to get fine smooth powder. If the ragi grains are in huge quantity, then one can send to mill for powder. Some also prefer to make the powder with some tiny bits, so grind as per choice (for babies, the powder should be fine smooth kind).
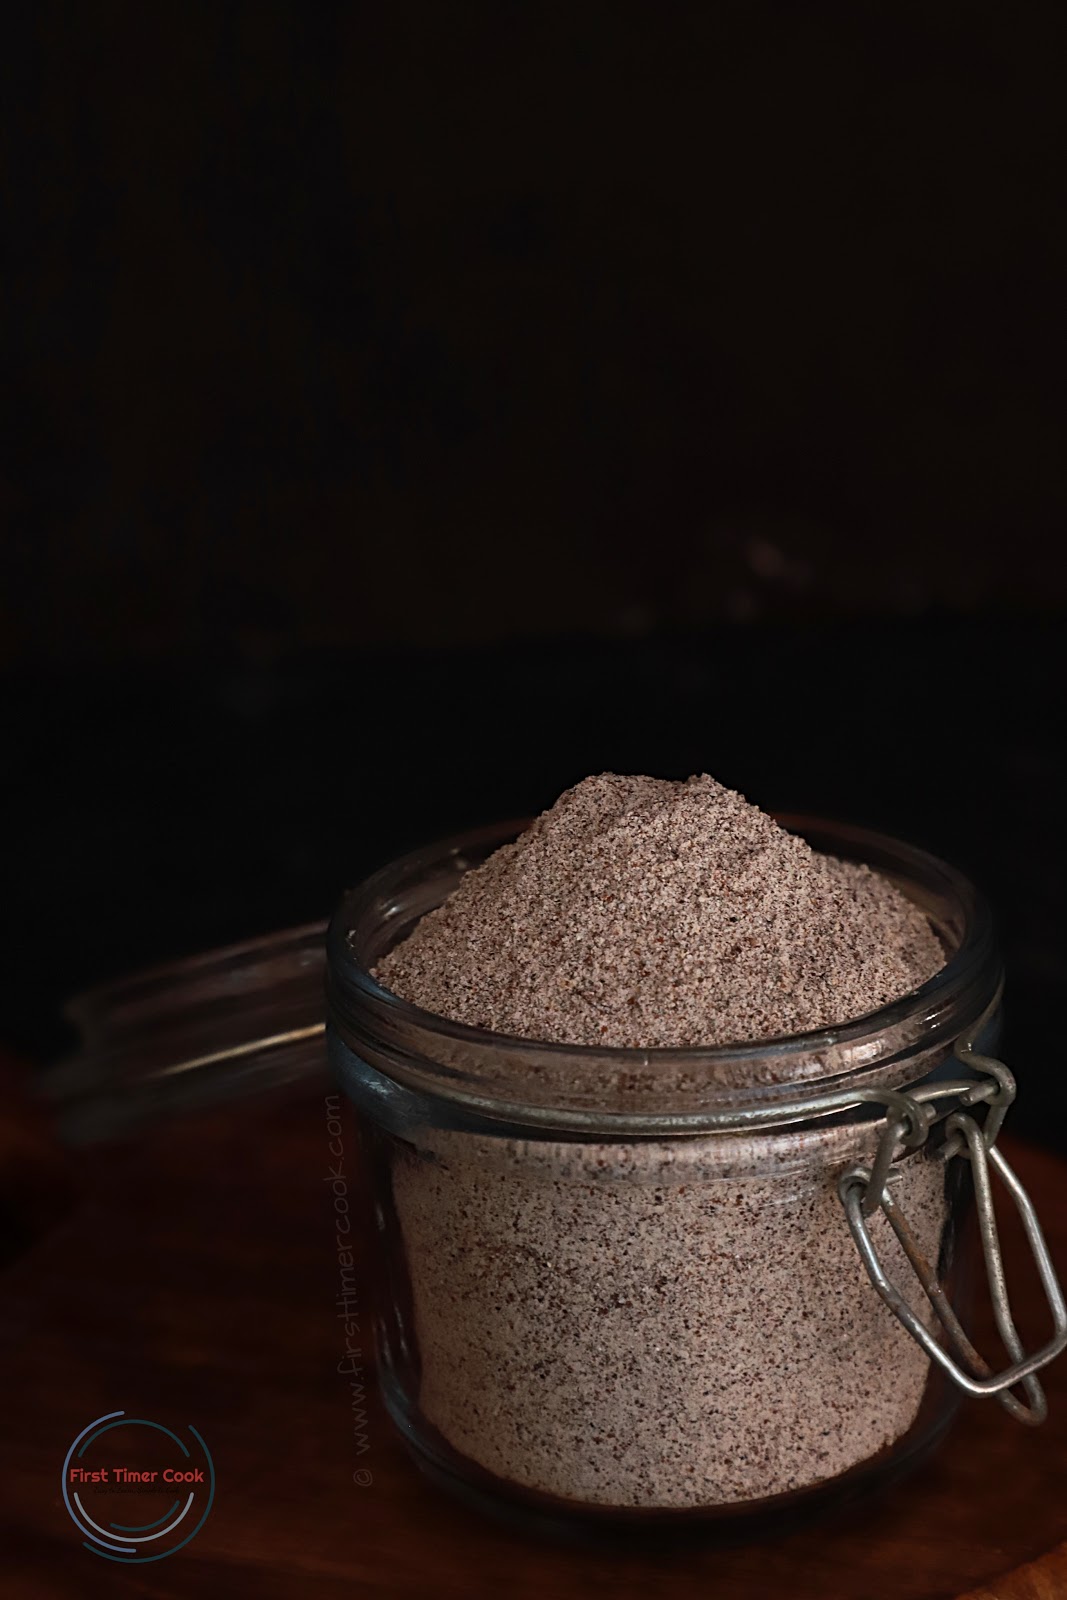
Simply make in a huge quantity and keep in an air-tight container to use later this homemade sprouted ragi flour.
: Recipe Card :
Homemade Ragi Flour (Sprouted Finger Millet Flour)
Prep time: 36 hourCook time: 10 MTotal time: 36 H & 10 M
a healthy flour prepared at home using sprouted finger millet (ragi / nachni)
Ingredients:
- Ragi grain 2 cup
- Water as needed
Instructions:
- In a bowl take all the ragi rains (finger millets) and enough regular water.
- Rub the grains very well with hands as it has lots of mud and dust particles.
- Drain the water and again rub the grains with enough water.
- Repeat the process (2-3 times) till there is no dirt and the water seems clear after rubbing.
- Next soak the cleaned ragi grains with water for overnight by slightly covering the bowl.
- Next day, simply drain the water completely.
- Transfer the soaked ragi grains onto a colander lined with a muslin cloth or cheese cloth.
- Make a tie by bringing together all the edges of the cloth.
- Place in a bowl and keep in a slightly darker place to sprout well (takes around 12-14 hours, even more depending upon the climate).
- By that time, many tiny sprouts are appeared and one can also keep for long time to get sprouts like bit large (approximately 1 inch).
- Then transfer to a plate and spread well.
- Allow to dry either keeping under fan or in sunlight until completely dry.
- After that heat a pan and dry roast the ragi grains in batches (for 4-5 minutes over low-medium heat) till nice aroma comes out and grains become crunchy.
- Transfer to a plate and allow to cool down.
- In a grinder jar, grind the grains to fine smooth powder in batches.
- Sieve the powder to a bowl and again grind if some coarse grains are still there.
- Keep all the powders in an air-tight container to use later !
Notes:
Instead of grinding at home, one can send the roasted ragi grains to a mill for making powder. I will recommend this if there is huge amount of ragi grains, else do make at home using grinder jar.
Did you make this recipe?
Tag @firsttimercook on instagram and hashtag it #firsttimercook
You may also follow me on Facebook, Pinterest, Twitter, Instagram and can subscribe for free to get new recipes directly into your inbox 😊
PIN for later :
Making ragi flour at home is a wonderful idea. Though it takes days to make it but seems worth the effort.
This was a staple for my children when they were babies. Of late, i have become lazy and getting ragi hat sprouts here has become difficult, hence never done it for a long while. Thankyou for the reminder and it is time for me to make it soon.
Like Seema said I too made nachni flour at home. In fact we made it every day of late for is I use store brought ragi flour. Excellent for all ages.
I am from Uttarakhand and it's consumed a lot there. My grandmother used to pack bags of ragi flour for us whenever we used to visit her. I never knew it takes so much effort to make Ragi flour at home. Thanks for sharing this post.
Making ragi flour at home is healthy and rich with nutrients… Required lot of effort but is beneficial too.
Ragi is not a common grain used in the Gujarati cuisine, but learnt how to use it in a lot of different recipes when I was staying in Bangalore. Love how you've explained step by step how to make ragi flour at home.
Never thought of making ragi flour at home as we don't use much in Gujarati cooking. Lovely and detailed post.
Ragi kanji is something we make often and this flour is a must at home…Your detailed post will be very useful for beginners who want to make at home…great share!!
Wow!!! Hats off dear for your patience! I am a jhatpat kinda cook and love store bought flours! I would love to make this but I doubt whether I will have that much patience to make these! Still, would love to try this some day with the help of your beautiful post and tips to make the perfect ragi flour! Super awesome share dear!
Making ragi flour at home is really a great idea. Though it’s times consuming but seems worth it. It’s great use for instant snacks made with this flour.
This post brings so many memories, I used to make it for my son when he was a baby. Useful post.
Homemade ragu flour is a great idea as we never know how fresh store bought stuff is.
wow awesome post! I always get ragi flour from a store, here i did not find easily ragi grain, which is so sad!
It's a must at every home
Homemade ragi flour, can be used for various menus from ragi satva for diabetic patients w/o sugar for seniors
& as well as for kids for Dosa,idaly,but even can be used regularly for making chapati by mixing in wheat flour test very good..(total energy food)